Understanding Your Ring Video Doorbell
Introduction to the Ring Video Doorbell
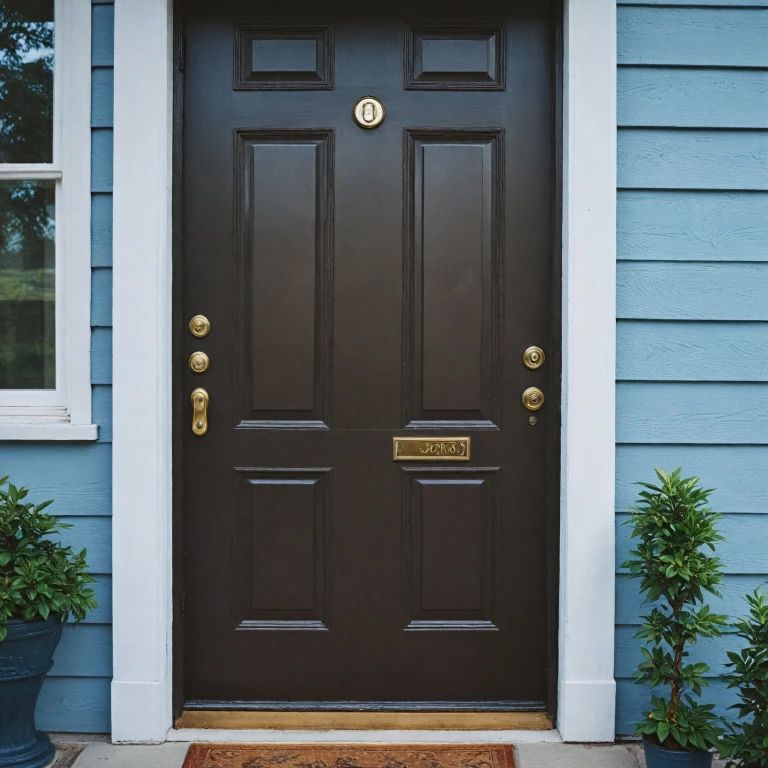
The Ring Video Doorbell is a groundbreaking device that combines the convenience of a traditional doorbell with the technological advancements of a smart security system. Designed for both wired and battery-powered configurations, it offers flexibility to suit different home setups. This device not only alerts you of visitors but also provides video surveillance, giving you peace of mind even when you are not at home.Choosing Between Wired and Battery Options
When considering a Ring doorbell, one of the first decisions to make is whether you prefer a wired or battery doorbell option. A wired doorbell connects directly to your home's existing doorbell wires and offers uninterrupted power without the need for battery replacements. On the other hand, a battery-powered version is easier to install as it does not involve complex wiring, making it a suitable choice for renters or those without an existing doorbell.Features to Look Out For
The Ring video doorbell comes with several user-friendly features:- Video Quality: High-definition video ensures clear image quality during live view or recorded clips.
- Two-Way Audio: Engage in clear conversations with visitors through the built-in microphone and speaker.
- Motion Detection: Alerts are sent to the Ring app when motion is detected near your front door.
- Durable Design: Weather-resistant components ensure reliable operation through various seasons.
- Smart App Integration: Manage settings, view video footage, and respond to alerts using the Ring app.
Preparing for Installation
Before embarking on the installation, gather the essential tools such as screws, a drill, mounting bracket, and possibly a jumper cable if integrating with an existing chime. Make sure to reference detailed guides like the HomePro doorbell guide to ensure a smooth installation process without any hitches.Gathering the Necessary Tools and Materials
Essential Tools and Materials for a Smooth Installation
Equipping yourself with the correct tools and understanding the features of your Ring Video Doorbell is a crucial step towards a successful installation.
- Screwdriver Set: A high-quality screwdriver set will make it easier to secure the mounting bracket and tighten screws onto the wall.
- Drill with Drill Bits: A drill is necessary to create holes in the wall for the mounting bracket. Use appropriate drill bits, particularly if you’re working with a harder surface.
- Mounting Bracket and Screws: These typically come with your Ring device and are fundamental for attaching the doorbell securely.
- Level: Ensure your video doorbell is mounted straight to guarantee functionality and aesthetics.
- Optional Jumper Cable: Required if connecting to an existing wired doorbell system.
- Additional Equipment: Power drill and anchors will be required if you have to create pilot holes on harder surfaces.
Possessing these items will allow for a seamless transition to the next phase of the installation process. Adhering to these guidelines will also enhance safety and efficiency, whether setting up a battery-powered or wired doorbell. For those linking to a traditional chime or ensuring power through an existing system, understanding these tools is especially pertinent.
Step-by-Step Installation Guide
Installing the Video Doorbell Device
Follow these straightforward steps to install your Ring Video Doorbell seamlessly, making sure it's aligned and secure:- Mounting the Bracket: Start by removing the mounting bracket from your video doorbell package. Align the bracket with your chosen spot on the wall where the device will be mounted. Using a pencil, mark the positions of the screw holes. If you're mounting on brick, concrete, or stucco, you'll need to drill pilot holes first—use the appropriate drill bit for such surfaces.
- Securing the Bracket: Attach the mounting bracket to the wall with the included screws. You may need wall anchors if installing on a harder surface.
- Setting Up the Doorbell: If you have an existing doorbell, proceed with the wired connections. Detach your existing doorbell, connect the Ring device to the pre-existing wires, and secure with the screws. If installing a battery-powered doorbell, simply attach the battery to the Ring device and secure it to the mounting bracket.
- Attaching Your Ring Doorbell: With the bracket secured, attach your Ring Video Doorbell to the mounting bracket. Firmly press and ensure the device clicks into place, which keeps it stable on the wall.
- Ensuring Proper Wiring: If applicable, check that all wires and jumper cables, when using a doorbell pro, are tightly connected for seamless power and chime integration.
Connecting to Wi-Fi and Setting Up the App
Connecting Your Ring Device to Wi-Fi and Setting Up the Ring App
Now that your Ring video doorbell is secured in place, it's time to bring it to life by connecting it to Wi-Fi and setting up the Ring app. Follow these steps for a seamless connection:- Initializing the Ring Device: Begin by ensuring your Ring doorbell is properly powered. This can be through a battery or wired setup, depending on your device model. A wired doorbell should be receiving power from existing wires, while a battery-powered model should have a fully charged battery inserted.
- Downloading the Ring App: On your smartphone, download the Ring app from either the Apple App Store or Google Play. It's crucial for managing your video doorbell and receiving notifications.
- Creating or Logging into Your Account: Once the app is installed, open it and create an account or log in if you already have one. This account helps link your device settings and preferences.
- Adding the Device: In the Ring app, tap the option to "Set up a Device." Select "Doorbells" from the list and follow the prompts to connect your device. Make sure your smartphone is connected to the same Wi-Fi network you intend to use for the Ring doorbell.
- Connecting to Wi-Fi: The app will guide you to connect your Ring doorbell to your home Wi-Fi network. Input your Wi-Fi password for connection, ensuring your network offers a strong signal at your front door.
- Testing the Connection: After a successful connection, the app will prompt you to test the video function. Check the video feed for clarity and responsiveness.
Troubleshooting Common Installation Issues
Overcoming Obstacles During Ring Installation
Even with a clear plan in place, various issues can arise when installing the ring doorbell. Here are some common installation challenges and solutions to help you achieve a seamless setup:- Power Issues: If your newly connected ring device shows no signs of power, verify the compatibility with your existing doorbell setup, particularly for a wired doorbell. Ensure the wiring is correctly connected and the power source is active. A battery-powered model can be an alternative if persistent problems occur.
- Weak Wi-Fi Signal: For optimal video quality, a strong Wi-Fi connection is essential. Poor connectivity might result in delayed notifications or incomplete video doorbell feeds. Consider installing a Wi-Fi extender closer to the ring doorbell for improved reception.
- Mounting Bracket Misalignment: Accurately measure and mark the wall before drilling pilot holes. Ensure the bracket is level and securely fastened with screws. If holes are misaligned, recheck measurements and consider using a mounting plate.
- Challenges with Wired Doorbells: When replacing an existing doorbell, inspect the wires for damage. A jumper cable may be necessary for certain configurations. Using a voltage meter can confirm if power is reaching the doorbell.
- App Setup Difficulties: In case you face troubles while setting up the ring app, ensure you are using the latest version from a reliable source. Restarting the device or refreshing the app can often resolve setup-related issues.
Safety and Maintenance Tips
Ensuring the Safety and Longevity of Your Ring Video Doorbell
After you have successfully installed your new Ring Video Doorbell and set up the Ring app, it is crucial to know how to maintain and handle it safely for years of seamless performance.- Regular Check-up: Periodically inspect your doorbell, especially around the mounting bracket, screws, and wires. Look for any loose connections that might affect the functionality, especially if you are using a wired doorbell.
- Maintain Power Supply: Ensure your doorbell device—whether it's a battery doorbell or a wired one—consistently has the needed power. For battery powered models, keep an eye on the battery status on your app and recharge as needed. For wired doorbell systems, check the wires and connections for any wear and tear.
- Cleaning the Video Doorbell: Keep your video doorbell and front door area clean. Dust or grime can obstruct the camera view, affecting the video quality. Use a soft, damp cloth to gently wipe the camera lens and surrounding area.
- Weather Protection: If your doorbell is exposed to extreme weather, consider additional weatherproofing. Though most Ring devices are weather-resistant, protective measures can prolong their service life.
- Updating Software: Regularly check for software updates through the Ring app. Updates often include security patches and new features that enhance the overall doorbell video functionality and security.
- Winterization Tips: In colder climates, check the device for ice or snow buildup, which can affect both its hardware and power functioning. Make necessary adjustments to your wired or battery doorbell based on season-specific requirements.