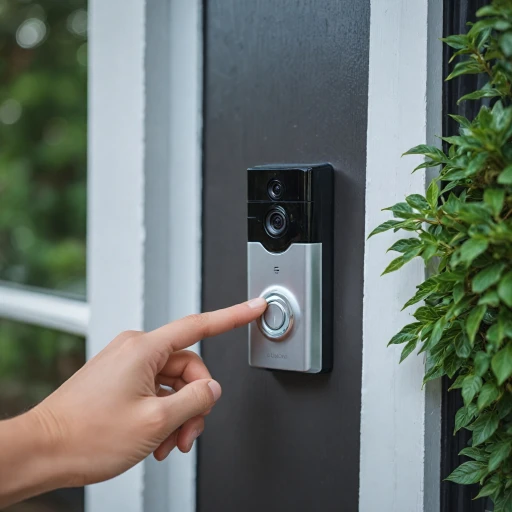
Understanding Your Ring Doorbell Model
Identifying the Specifications and Features
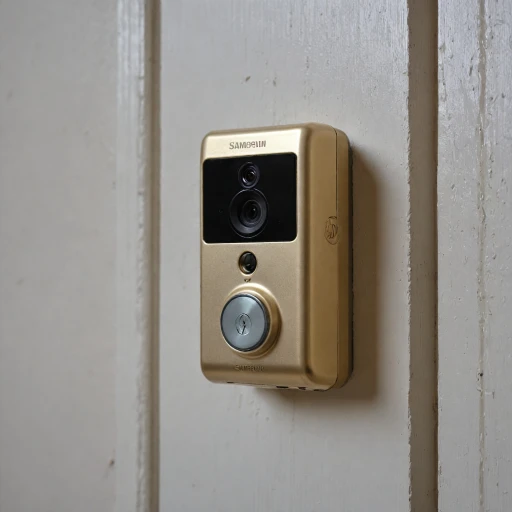
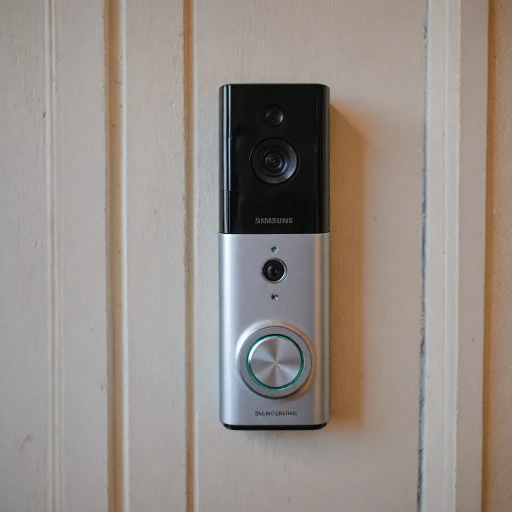
Selecting the right Ring doorbell model is crucial before you dive into the installation process. When browsing options on Amazon or reading reviews, you will come across a variety of models each offering unique features such as enhanced motion detection, night vision, and different power sources like battery or wired connections. This part lists what to consider for a suitable choice.- Power Source: Many Ring devices, including the Ring doorbell pro, offer both battery and wired options. The doorbell pro version typically requires a hardwired connection, often replacing an existing doorbell. In contrast, battery-powered models provide flexibility for those without existing wiring.
- Video Quality: The video resolution varies across models—higher resolution models will give clearer footage of your front door, which is beneficial for security.
- Feature Sets: Features like advanced motion detection, night vision, and chime compatibility may influence your choice. Some options also offer integration with home-security systems. Ensure to select a device that supports these features if they are essential for you.
- Testing and Ratings: It's useful to read customers' reviews and ratings; both positive and negative feedback can provide insight into real-world performance and longevity. Look for verified purchase reviews to judge the quality effectively.
Gathering Necessary Tools and Equipment
Checklist for Gathering Installation Tools
When preparing to install your Ring doorbell, having the right tools and equipment is essential for a smooth and successful process. Before getting started, ensure you have the following items on hand:- Ring Doorbell Unit: Make sure you have your video doorbell ready, as well as any included accessories from Amazon or your retailer.
- Screwdriver and Drill: Crucial for the mounting process, as most Ring devices require secure attachment to the wall.
- Mounting Bracket: This often comes with your Ring doorbell and is essential for installation on the wall.
- Level: Ensures the doorbell is straight, contributing to reliable video capture and motion detection.
- Charging Equipment: If your model requires a battery, make sure it is fully charged for the initial set-up.
- Chime Kit: If you're connecting to a chime, have this ready to incorporate into your installation.
- Drill Bit Set: Necessary if drilling into brick, stucco, or concrete without pre-existing holes.
- Wire Extenders: Useful if you need to connect to a wired doorbell system and require additional length.
- Safety Gear: Protect your eyes and hands during the installation if required.
Understanding the Ring App Integration
The integration of your doorbell with the Ring app is crucial for accessing and managing your video feed, motion detection alerts, and settings remotely. It allows you to connect multiple Ring devices for a comprehensive security setup. Familiarize yourself with the app interface reviewed united, as customers mention ease of use and functionality in positive reviews.Reading Reviews and Feedback
Before proceeding with the installation, it's worthwhile to read customers' feedback, both positive and negative, regarding your specific Ring model. Pay attention to verified purchases for reliability. Many customers mention how the device enhances security with its features such as night vision and motion detection, while others highlight issues like negative customers' experiences with connectivity or power integration. Reading these reviews can provide insights into potential challenges you might face during the installation. For more comprehensive installation guidance, explore this step-by-step guide.Preparing Your Doorbell Location
Pre-Installation Checks and Considerations
Before installing your Ring Doorbell, ensuring that the location is properly prepared is crucial. Understanding the compatibility of your existing setup can significantly affect the ease and success of the installation process. Customers have positively reviewed the simplicity when these factors are considered beforehand.
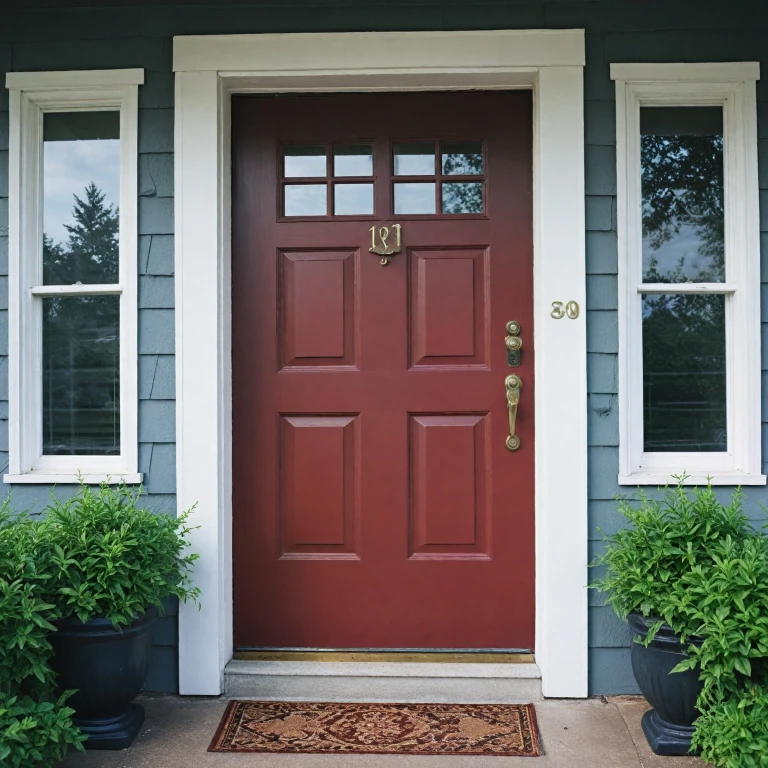
- Location Suitability: Assess the exterior of your front door to ensure it allows for a secure mounting bracket. Make sure your video doorbell's ideal viewpoint isn’t obstructed by any elements like walls or furniture. This helps in capturing clear videos for enhanced security.
- Power Source: Choose between a battery or a wired installation. If opting for a wired doorbell, confirm that the existing doorbell wires are functional and can deliver sufficient power. The role of a doorbell transformer is vital here to maintain constant power and reliable motion detection features.
- Internet Connectivity: Check the Wi-Fi signal strength at your chosen location to prevent any negative customers experiences regarding connectivity issues. A robust and stable signal is essential for the Ring Device and for accessing the ring app for video feeds and motion alerts. Connecting the app efficiently ensures easy management of settings post-installation.
Customers have noted the benefits of prioritizing these aspects before starting the installation process. Verified purchase reviews frequently highlight preparation as a step toward a seamless installation experience with Ring Doorbell devices.
Step-by-Step Installation Guide
Guided Steps for Seamless Installation
To embark on setting up your Ring video doorbell, you’ll want to ensure a smooth process from start to finish. Follow these instructions to securely install your device and enjoy its security features right at your doorstep.- Mounting the Bracket: Begin by attaching the mounting bracket. Make sure it's level and secure at your front door for optimal video capture and motion detection. If you're upgrading from an existing wired doorbell, its location might already be suitable.
- Connecting Wires: Gently attach the wires to your Ring doorbell if you're setting up a wired option. For those using a Ring device with a battery, remember that charging it fully beforehand is essential.
- Securing the Ring: Clip your Ring video doorbell onto the mounted bracket. Double-check that it's tightly secured to avoid any movement that might impact its night vision or motion capture functions.
- Power Connection: If using a Ring Pro, ensure the power connection is stable, as this model draws more power than others. For those with a Ring wired model, the installation into existing wiring will maintain power flow.
- Setup the Ring App: After your doorbell is physically installed, the next step involves configuring it in the Ring app. Enable motion detection, video recording, and link it to your Amazon chime devices if you own any.
- Test Your Doorbell: Perform a test ring via the app to check operational features, including the video feed and motion alerts. Read reviews and consult verified purchase feedback for troubleshooting tips if you encounter issues.
Configuring Settings for Optimal Performance
Fine-Tuning Your Ring Doorbell Settings for Optimal Performance
Once your ring video doorbell is securely installed, it's essential to dive into the configuration settings to ensure your device performs optimally. The Ring App is your go-to tool for this process, offering a user-friendly interface to adjust various settings to suit your needs.- Connecting to Wi-Fi:
- Motion Detection Sensitivity:
- Video Quality and Night Vision:
- Notifications and Chimes:
- Battery vs. Wired Performance:
- Security Enhancements:
Troubleshooting Common Installation Issues
Addressing Frequent Installation Pitfalls
After you install your Ring doorbell, it’s common to encounter some minor hurdles. However, these challenges are usually fixable with a few easy steps. Here’s how to ensure your device functions smoothly.
- Connectivity Issues: If your Ring device isn't connecting to the Wi-Fi, first ensure your router is operational and close enough to the doorbell. If needed, a Wi-Fi extender could be beneficial. Confirm that you are using the correct credentials and that the Ring app is updated.
- Power Problems: For a wired doorbell, verify the wiring connections, and for a battery-operated model, ensure the battery is fully charged. If your existing doorbell did not have enough power, you might need a power pro kit.
- Video Quality: Poor video quality can often be traced to internet issues. Check your upload speed - it should be sufficient to support the video stream. Adjust your Wi-Fi settings or consult customer support for assistance with video-related problems.
- Chime Functionality: Whether your chime is not ringing or delayed, first verify the settings in the Ring app. Make sure the Ring Chime or compatible existing chime is correctly configured. An incorrect mounting bracket can also cause chime failures.
- Motion Detection Calibration: Ensure that your motion detection settings are properly adjusted. Sometimes the default settings are too sensitive, leading to false alerts. Fine-tune these in the app for optimal results.
These steps should help in resolving installation interruptions and improving the overall performance of your doorbell. For a comprehensive guide, customers often read reviews about the specific Ring video model they own, paying attention to feedback on verified purchase experiences. Both negative and positive feedback from other customers can offer insights into common issues and solutions. If problems persist, reaching out to Ring support is a strategic next step for further assistance.

