Understanding Your Blink Doorbell
Getting to Know the Blink Doorbell System
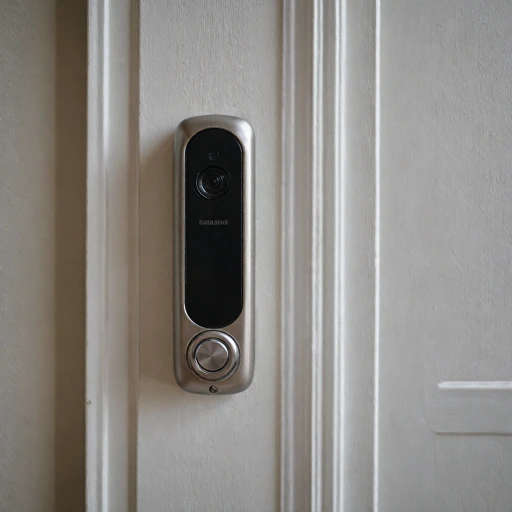
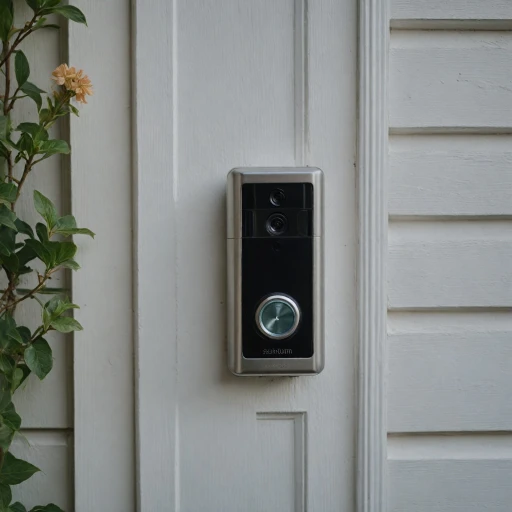
The Blink doorbell system has revolutionized residential security with its comprehensive features and user-friendly installation process. Designed to integrate seamlessly into modern homes, the Blink doorbell offers various functionalities that enhance your home safety while providing ease of access and convenience. Understanding the components and capabilities of your Blink video doorbell is essential to ensure proper installation and optimal use.
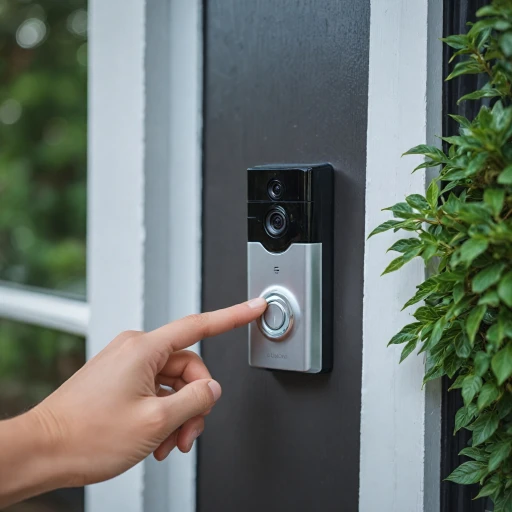
Primarily, the Blink video doorbell is known for its high-quality video capabilities. It allows homeowners to enjoy a clear view of their doorstep, thanks to its high-resolution camera. This feature is enhanced by the doorbell's ability to adjust its viewing angles, facilitated by optional mounting accessories like the corner mount. The camera ensures that you have a comprehensive perspective of visitors or any activity in front of your home.
The Blink video doorbell can be incorporated as either a wired or wire-free option, making it versatile for various types of installation preferences. While it comes with a mount included in the package, some installations might require additional tools or corner plates to suit specific mounting requirements.
Additionally, the Blink system stands out with its robust customer service, adhering strictly to a detailed privacy policy to protect user data. As you prepare for the installation phase, investing some time in comprehending the essentials of the Blink video doorbell will pave the way for a smoother setup and long-term usage. Ensuring that you're familiar with the components included and understanding various configurations can help you choose the right choices when it comes to mounting and positioning your device effectively.
Choosing the Right Location
Finding the Prime Spot for Your Doorbell
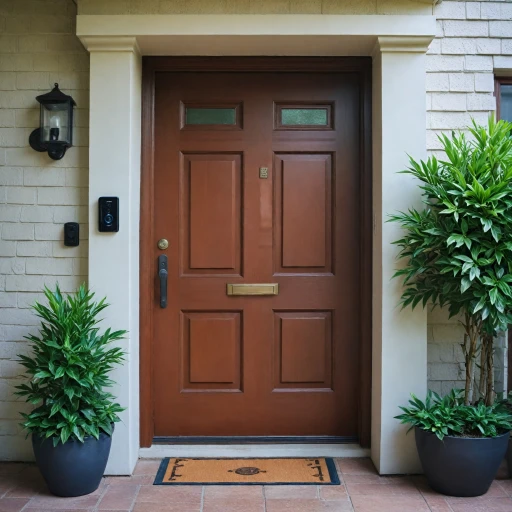
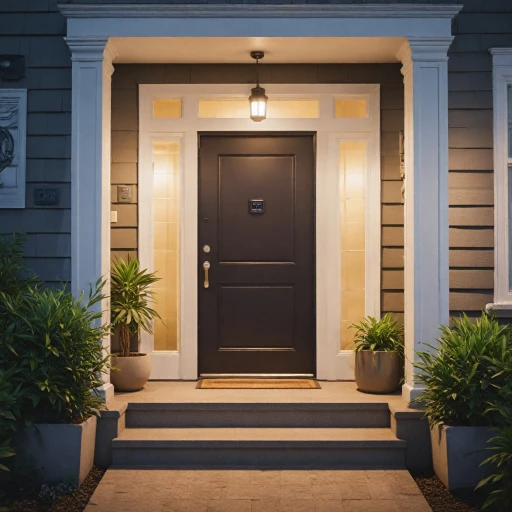
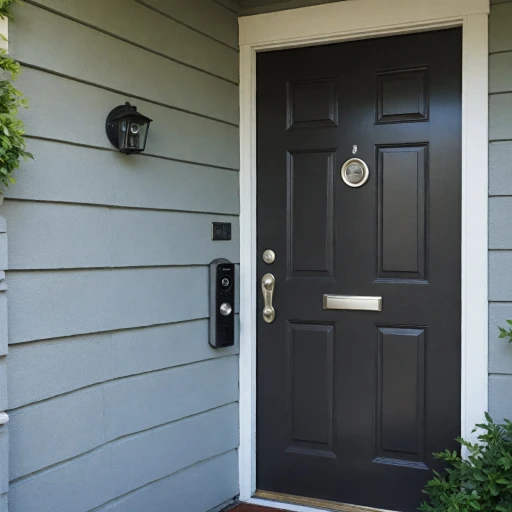
Choosing the right location for your Blink doorbell is crucial for optimal performance and security. It’s essential to select a spot that provides a clear view of your entryway, ensuring that the camera can effectively capture video footage.
- Consider the height of the installation. The doorbell should generally be mounted at around 48 inches from the ground to capture a person’s face clearly.
- Analyze your home’s layout. Doorbells can be mounted on various surfaces such as walls or bricks, but ensure the material supports a secure installation.
- Opt for a corner placement if needed. Blink video doorbells can often be enhanced with a corner mount to adjust viewing angles and better cover the entryway.
Additionally, think about the direction of light and weather exposure. Direct sunlight might cause glare on the camera, while exposure to rain could impact the doorbell system’s longevity. To combat these issues, consider using mounting accessories like a protective plate or an angle mounting accessory.
Lastly, assess your Wi-Fi signal’s strength at the proposed doorbell location. A solid connection is vital for uninterrupted video streaming and timely notifications. If needed, plan for a wired installation as an alternative to ensure proper power supply, or check if your doorbell is compatible with wire-free options included in the setup kit.
For detailed mounting instructions, refer to this step-by-step guide on our partner site.
Tools and Materials Needed
Essential Equipment for a Successful Doorbell Setup
When preparing for the installation of your Blink doorbell, having the right tools and materials is crucial to ensure a seamless process. Equipped with the necessary items, you’re more likely to ensure proper installation and mounting. Here’s a comprehensive list of what you’ll need:
- Drill and Drill Bits: A reliable drill is fundamental for this task. Depending on your wall type, different drill bits may be needed. For brick walls, masonry drill bits are recommended.
- Mounting Accessories: Typically, these accessories are included with the doorbell system. This might include screws, corner mount plates, and anchors for different surface types.
- Mounting Plate: This is a vital component for securing your Blink video doorbell onto the wall. Ensure it fits well with your wall type, whether it's wood, vinyl, or brick.
- Angle Plate (if needed): To optimize viewing angles, a corner mount or angle doorbell plate may be useful, especially for enhancing the camera's coverage around corners or obstructed views.
- Wire Strippers (for wired installation): If you’re setting up a wired installation, these will assist in preparing the wire for connection.
- Level Tool: This helps in ensuring that your internal power source and doorbell are mounted top-middle and are perfectly level.
- Pencil: For marking drill holes, this is an essential tool to avoid errors in positioning.
- Screwdriver: Depending on the screws included with your Blink device, a Phillips or flat-head screwdriver might be required to tighten and secure the doorbell mount.
By gathering these tools and materials, your Blink doorbell setup will be well on its way to completion. You’ll be equipped to tackle any mounting challenge, and properly fitted mounting hardware will help you achieve ideal video angles and doorbell compatible positions.
For added steps on configuring your installation, you can consider the video doorbell's privacy policy guidance as you navigate through the subsequent phases of your mounting endeavor.
Step-by-Step Mounting Guide
Detailed Steps for Safely Setting Up Your Doorbell
- Prepare Your Workspace: Before starting the installation, clear your workspace to ensure you have access to necessary tools and materials.
- Marking the Drill Points: Position the bracket at the desired height on the wall, which is typically around 48 inches from the ground for optimal viewing angles. Mark the holes where you will drill using a pencil.
- Drilling for Bracket Installation: Use a drill that matches the surface type (wood, brick, etc.). Attach the drill bit that corresponds to the screws provided. Ensure the drill bit is suitable for the depth needed to secure the doorbell.
- Securing the Bracket: Align the bracket with the wall holes and use the screws included in the box to secure it in place. If your installation is on an uneven surface, consider using a corner mount to ensure the blink video doorbell sits flush.
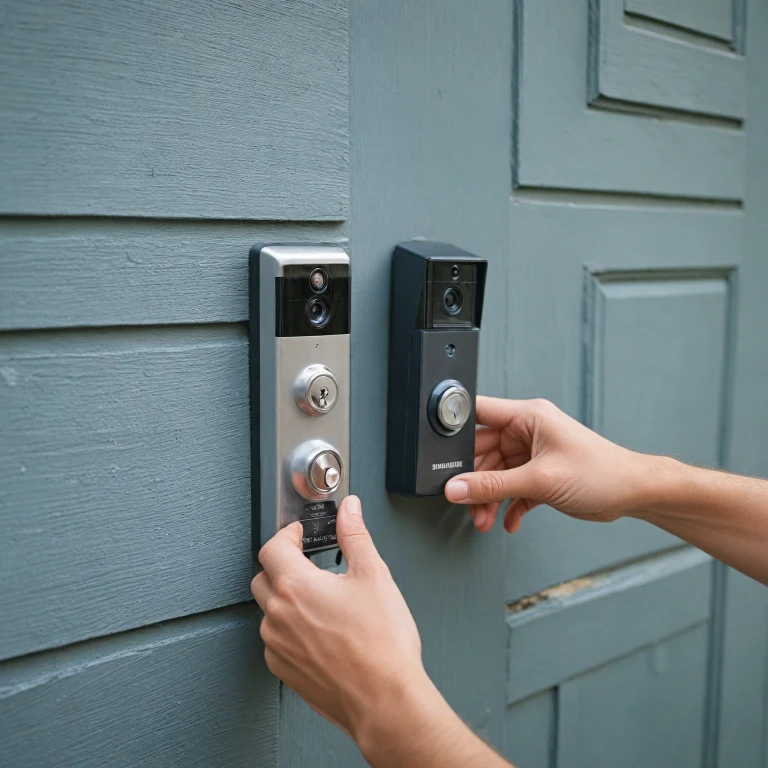
- Installing the Doorbell: Align the Blink doorbell with the bracket, ensuring the wiring is safely tucked and secure if you're opting for a wired installation. Mount the doorbell by locking it into the bracket—this step often requires a firm push until you hear a click.
- Adjusting the Angle: Most mounting accessories come with options like an angle plate to adjust for optimal camera viewing angles. Ensure your video doorbell captures the desired field of view by testing its placement.
- Testing the System: After installation, test the doorbell by activating it. Check the connectivity and video feed through your connected device. Ensure the camera view is clear, and adjust the angle doorbell if necessary.
- Contacting Support: Certain mounting challenges may require assistance. Reach out to Blink's customer service for additional help if you encounter issues beyond basic installation.
Common Mounting Challenges and Solutions
Overcoming Potential Obstacles During Mounting
When you're ready to mount your smart doorbell, you may encounter some common challenges. One of them might be finding the best surface for installation. For example, if you have a brick wall, using the right drill and mounting accessories is crucial to ensure a secure fit. Opt for a masonry drill bit that matches the provided screws and anchors, which are typically included in your doorbell package. Another common issue occurs when aligning your doorbell's video camera for the best viewing angles. If your chosen location doesn't provide an optimal angle, consider using a corner mount. A corner plate can help adjust the camera angle, guaranteeing clear video feed and proper coverage of the area. Also, if your existing doorbell setup involves a wired installation, handling the wires might pose a challenge. Ensure you have a wire cutter and stripper handy to make any necessary adjustments. This will help streamline the installation process and avoid any tangled mess. Moreover, ensure proper care in selecting the angle doorbell mount for wire-free models, especially if you have to position them above or to the side of the door. Retighten screws regularly to prevent wobbling, and make sure it is securely mounted to withstand various weather conditions. Finally, maintaining access to customer service can be beneficial in overcoming problems during the installation or mounting process. They can provide valuable guidance should you face particularly stubborn obstacles that impede the successful setup of your Blink doorbell. By being prepared and informed, you can overcome these challenges effectively, ensuring that your video doorbell system functions optimally.Maintaining Your Blink Doorbell
Keeping Your Blink Doorbell in Optimal Condition
Maintaining your Blink doorbell is crucial to ensure long-term functionality and reliability. Over time, environmental factors such as weather conditions and dirt can affect the performance of your device. Here’s how you can keep it in top shape:- Regular Cleaning: Dust and debris can accumulate on the lens and body of the doorbell, affecting the video quality. A soft, damp cloth can be used to gently wipe down the surface without damaging the camera or the device’s finish. Avoid using abrasive cleaning agents that might scratch the surface.
- Check Mount Stability: Occasionally verify that the mount is secure. If you’ve used a wall or brick for the mounting, ensure that it remains snugly attached. A loose mount can cause the doorbell to wobble, which may lead to issues with viewing angles and video clarity.
- Inspect Wired Installations: For those who have a wired installation, regularly check the wiring. Confirm that wires remain intact and are not exposed, as this can cause connectivity issues during operation.
- Software Updates: Blink frequently releases firmware updates to improve functionality and address security vulnerabilities. Ensure that your device’s firmware is up-to-date by checking the device settings within the app.
- Contact Customer Support: If you encounter persistent issues with video quality, connection problems, or mounting concerns, Blink's customer service may provide solutions or replacements under warranty. Keeping a log of any issues can aid in troubleshooting.
- Maintaining Privacy: Reviewing and adjusting privacy settings in your doorbell setup is vital for protecting your personal information. Regularly check your privacy policy settings in the app to ensure they align with your preferences.
