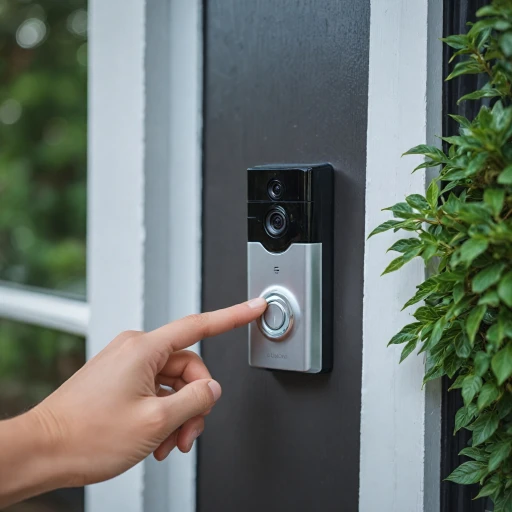
Understanding Your SimpliSafe Doorbell
The Essentials of Your New SimpliSafe Doorbell
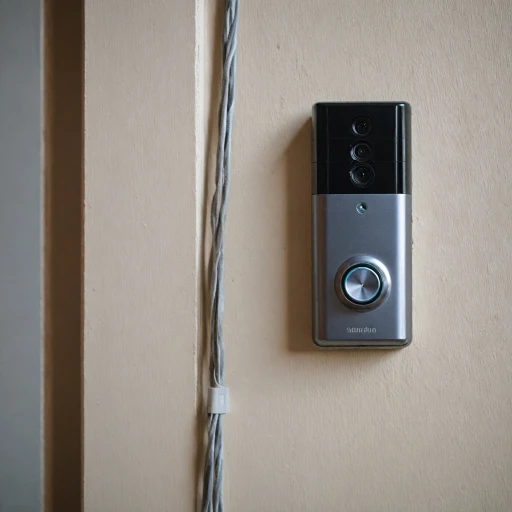
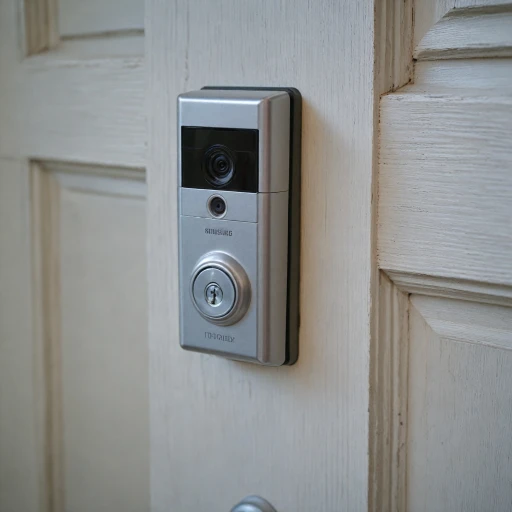
Before diving into the installation process, it's important to familiarize yourself with the SimpliSafe video doorbell you have invested in. Understanding its key components and features will make the installation smoother and more efficient. This device not only acts as an alert system when someone approaches your door, but it also serves as a robust security camera. Whether you’re a new customer or upgrading from an existing doorbell, SimpliSafe offers a reliable security system that integrates seamlessly with your home's infrastructure. Users can benefit from the device’s motion detection capabilities for real-time alerts, high-definition video quality, and robust night vision for enhanced security. The SimpliSafe doorbell camera features a built-in chime connector, allowing it to work harmoniously with your existing mechanical chime and enhancing your overall home security system. Additionally, the SimpliSafe app enables you to view footage and control the system remotely, providing a convenient way to monitor your home from anywhere at any time. Over the years, improvements have been made to ensure ease of installation for wired doorbell systems. However, it is crucial to assess your current doorbell setup and ensure compatibility with SimpliSafe systems to avoid potential installation issues. For those looking to understand more detailed steps in the installation process or troubleshooting, consider resources such as How to Successfully Install Your Ring Doorbell for additional guidance. Moving on from understanding your device's features, the next step involves efficiently preparing for your installation journey, ensuring all tools and resources are readily available. This preparation will set the ground for a successful installation and a well-functioning security system.Preparing for Installation
Gathering Your Tools and Supplies
Before diving into the installation process, it’s essential to prepare adequately. Begin by gathering all necessary tools and supplies to ensure a smooth installation of your SimpliSafe doorbell. A properly executed preparation phase makes the installation easy and hassle-free.
Checking Compatibility and Requirements
First, check whether your existing doorbell system is compatible with the SimpliSafe doorbell camera. Some older wired doorbell systems might require upgrades or additional chime connectors for the installation to be seamless. Verify that your current wiring can support the new setup.
Setting Up the Workspace
Choose a calm, well-lit area near the door where you plan to install your doorbell. Clear away any obstructions that might hinder your access to the doorbell pro. Familiarizing yourself thoroughly with the existing doorbell setup saves time and reduces errors during the installation.
Cross-Checking Your Equipment
Review all doorbell system components included in your SimpliSafe package. Ensure you have the video doorbell, chime kit, mounting bracket, and the necessary screws and anchors. Inventorying these items beforehand eliminates disruption during the installation.
Customer Service and Resources
For any missing components or last-minute queries, SimpliSafe's customer service and online resources offer an excellent starting point. They provide easy-to-read documents and helpful guides that can assist in clarifying doubts.
Step-by-Step Installation Guide
Getting Started with the Installation
Before diving into the installation of your SimpliSafe doorbell, ensure that you have all the necessary tools and components ready. This will make the process smooth and efficient. If you've already prepared your space and gathered your tools, you're ready to begin.
Mounting the Doorbell
First, locate the ideal spot for your doorbell camera. It should be near your existing doorbell wiring. If you have a wired doorbell, disconnect it from the power source to ensure safety. Use the mounting bracket provided with your SimpliSafe video doorbell to mark the spots for drilling. Once marked, drill the holes and secure the bracket using the screws provided.
Wiring the Doorbell
With the bracket in place, it's time to connect the wires. Attach the wires from your existing doorbell to the terminals on the back of the SimpliSafe doorbell. Make sure the connections are secure to avoid any issues with the chime or power. If you encounter any difficulties, refer to the troubleshooting guide for assistance.
Attaching the Doorbell
Once the wiring is complete, attach the SimpliSafe doorbell to the mounting bracket. Ensure it clicks into place securely. This step is crucial for the stability of your video doorbell, especially if you plan to use features like motion detection and night vision.
Testing the System
After installation, turn the power back on and test the doorbell. Check if the mechanical chime works and if the video feed is clear. Use the SimpliSafe app to view the camera feed and adjust settings as needed. If you face any issues, SimpliSafe customer service is available to help.
With these steps, your SimpliSafe doorbell installation should be complete, allowing you to enjoy enhanced security and peace of mind.
Connecting to Your Home Network
Connecting Your SimpliSafe Doorbell to Your Home Network
Once you've completed the physical installation, it's time to get your SimpliSafe doorbell connected to your home's Wi-Fi network. This is essential for unlocking its full array of features, including video streaming and motion detection alerts.- Power Up the Doorbell: Ensure that your SimpliSafe video doorbell is receiving power from the wired doorbell connection. The doorbell camera should show signs of life, like lights flashing or an audible chime from your mechanical chime.
- Download the SimpliSafe App: If you haven’t already, download the SimpliSafe app from your device’s app store. It's crucial for controlling your new security system and is compatible with both iOS and Android.
- Account Setup: If you’re a new customer, register for a SimpliSafe account through the app. Existing customers can simply log in. This account will help in professional monitoring and accessing security features remotely.
- Follow In-App Instructions: The SimpliSafe app provides a guided setup for connecting the doorbell to your Wi-Fi. Make sure your phone is connected to the network you wish the doorbell to use.
- Secure Connection: Check for any firmware updates offered via the app. These updates will enhance your security system’s stability and security. This is also a perfect time to adjust settings like motion detection sensitivity and night vision preferences, ensuring your video doorbell is tailored to your needs.
- Test the Video Functionality: Once connected, test the video feed through the app. The doorbell pro model should offer clear, live views of the surrounding area. This ensures everything is correctly set up, including the video doorbells' camera angle.
- Check Chime Connection: Don’t forget to test if the chime is working properly when the doorbell is pressed. This can involve checking both the mechanical chime and the chime connector for proper function.
Troubleshooting Common Issues
Addressing Potential Setbacks with Your SimpliSafe Installation
Installing your SimpliSafe doorbell video camera system can be an exciting process, yet even the most tech-savvy individuals might face some hitches along the way. Here are some common issues that arise and easy solutions to get your device up and running smoothly.- Issue with Power Supply: If your doorbell doesn’t power on, double-check connections to your wired doorbell or ensure your mechanical chime is compatible with the system. Problems with the chime connector can often disrupt functionality, so verify that it is firmly affixed.
- Video Quality Problems: For optimal viewing, ensure your SimpliSafe video doorbell is properly connected to the home network. Moving the router closer to the door could also help if the signal is weak.
- Motion Detection Sensitivity: Adjust the settings via the SimpliSafe app to tailor motion alerts according to your preferences. This can be particularly useful for avoiding unnecessary notifications about motion in high-traffic areas.
- Syncing with SimpliSafe Security Systems: If connection issues arise with existing security systems, ensure the device firmware is up to date. Additionally, a system reset might be required if connectivity issues persist.
- Trouble with App Connectivity: The SimpliSafe app will provide key insights into any connectivity problems. Check that your mobile device’s operating system supports all app features.
Maximizing Your Doorbell's Features
Enhancing the Capabilities of Your Smart Doorbell
Maximize your SimpliSafe doorbell's potential by delving into its array of features, all designed to augment your home's security. Once you've completed your installation and connectivity setup, consider these tips to fully utilize the capabilities of your video doorbell.- App Mastery: Familiarize yourself with the SimpliSafe app, a pivotal tool that allows for easy monitoring and control of your doorbell camera. Customize alerts and decide which notifications suit your lifestyle best, ensuring you only receive the most relevant updates.
- Adjust Motion Settings: The doorbell's motion detection feature is versatile, designed to pick up activity where you need attention. Fine-tuning these settings can prevent unnecessary alerts and extend battery life if your system isn't hard-wired. Sensitive areas, like driveways or front yards, may require tailored sensitivity levels.
- Leverage Night Vision: For around-the-clock security, utilize the impressive night vision feature intrinsic to your SimpliSafe video doorbell. This capability ensures that even in low-light conditions, you'll maintain clear visibility and a reliable security presence.
- Integrate With Existing Systems: If you have additional SimpliSafe security systems, integrate your doorbell with these for a more cohesive security strategy. This synchronization can enhance your home’s defense with coordinated monitoring and response.
- Optimize the Chime Connector: If your SimpliSafe doorbell is connected to a mechanical chime, adjust the chime connector settings to ensure it rings suitably within your home, balancing volume and responsiveness.
