The basics of doorbell wiring
Introduction to Wiring in Smart Doorbells
Understanding the basics of doorbell wiring is essential, whether you're installing a new system or troubleshooting existing setups. Doorbell wiring involves a few key components working together to create an efficient connection. Here's a concise breakdown to help you build a foundational knowledge base.Key Components and Connections
Starting with the basic elements, you'll need to recognize the interconnected roles that various parts play:- Doorbell Button: This is where it all begins. When the button is pressed, it sends a signal through the wires, indicating someone is at the door.
- Wires: Traditionally, doorbell systems use low-voltage wires. These wires form the nervous system of your setup, connecting the button to the chime and transformer.
- Chime: Inside, the chime plays a key role, producing sound when the signal arrives. Modern adaptations often include options like video doorbells, offering more than just a jingle with visual alerts.
- Transformer: Essential for converting household voltage to a lower level, transformers are crucial. They power your wired doorbell system efficiently. For more in-depth knowledge about the role of a doorbell transformer, here's some helpful information.
Voltage and Wiring Diagrams
Knowing the voltage of your doorbell system is vital. Home doorbell systems typically run on low voltage between 16-24 volts. This minimizes risk while ensuring the system is safe to operate. Wiring diagrams can help you visualize the connections and identify the roles of each component. A clear understanding of diagrams is critical when making or checking connections, which is particularly valuable when dealing with issues around common challenges, as we will discuss later.Connectivity and Power Options
Nowadays, many homeowners are transitioning to smart doorbells like the nest doorbell or ring doorbell. These technologies often integrate wirelessly but can still require wired power connections. Although some options offer battery-powered configurations, being informed on connecting them via traditional 'wired' methods provides flexibility and understanding. An informed and safe installation doesn't just hinge on the basics. You'll need to consider further elements like common wiring challenges, which can be addressed with adept solutions. Remember, proper safety measures are indispensable, ensuring successful installation and operation of your doorbell system.Components of a smart doorbell system
Key Components of a Smart Doorbell Setup
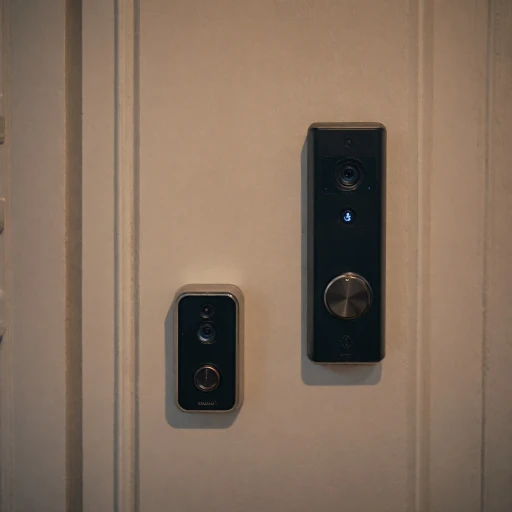
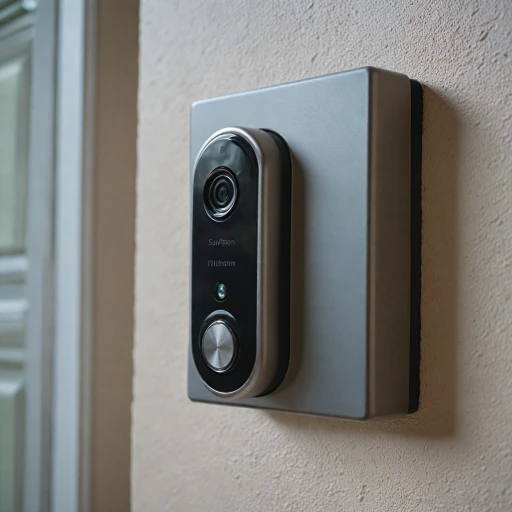
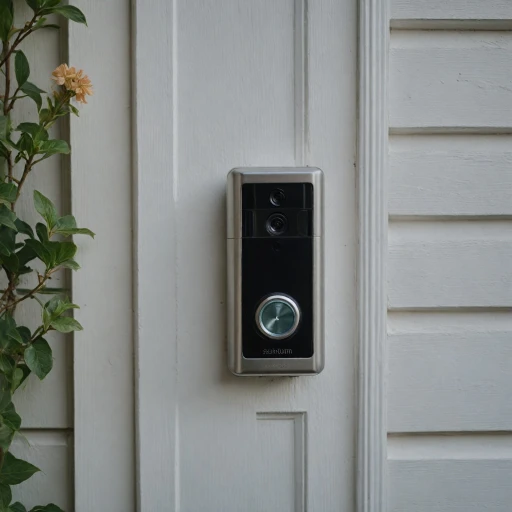
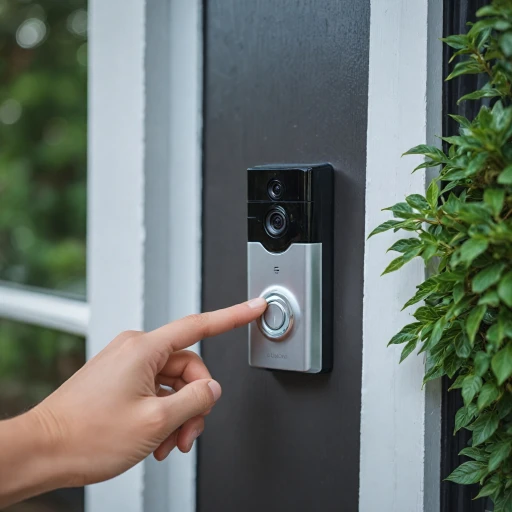
Smart doorbell systems have evolved significantly, incorporating a range of components to enhance functionality and user experience. Here's a breakdown of what makes up a typical smart doorbell system.- Doorbell Button: This is the external part that visitors interact with, pressing it to alert you of their presence. In both traditional and smart versions, this component is often mounted at the front entrance.
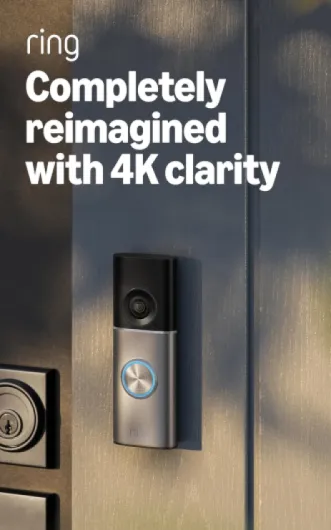
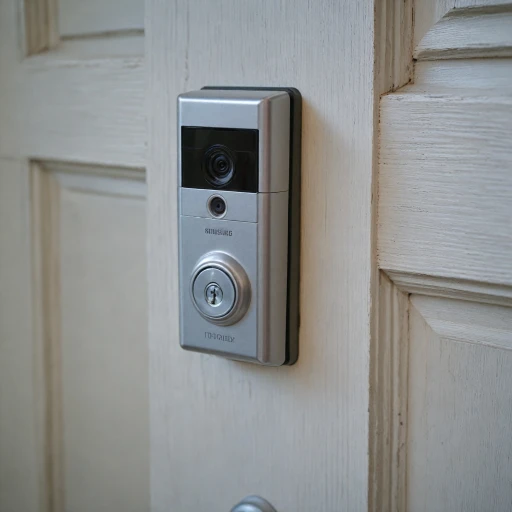
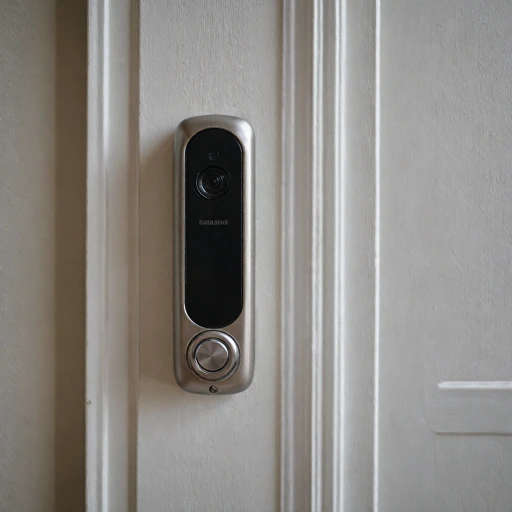
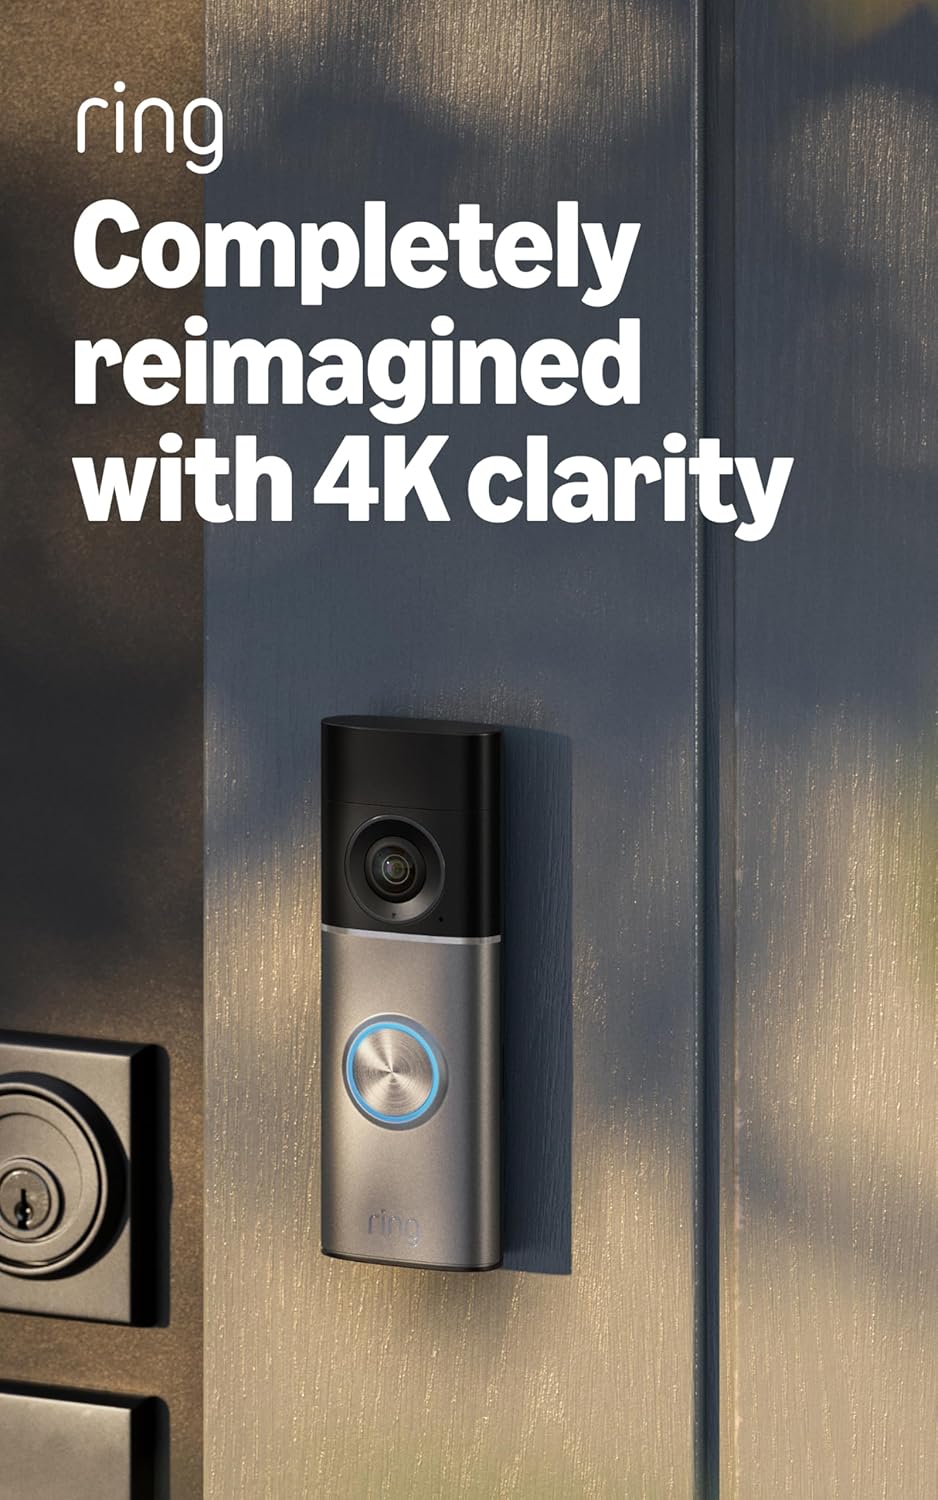
- Video Doorbell: Many smart doorbells come equipped with cameras, allowing homeowners to see who's at the door through connected apps. Devices such as the Nest doorbell record video, providing added security and convenience.
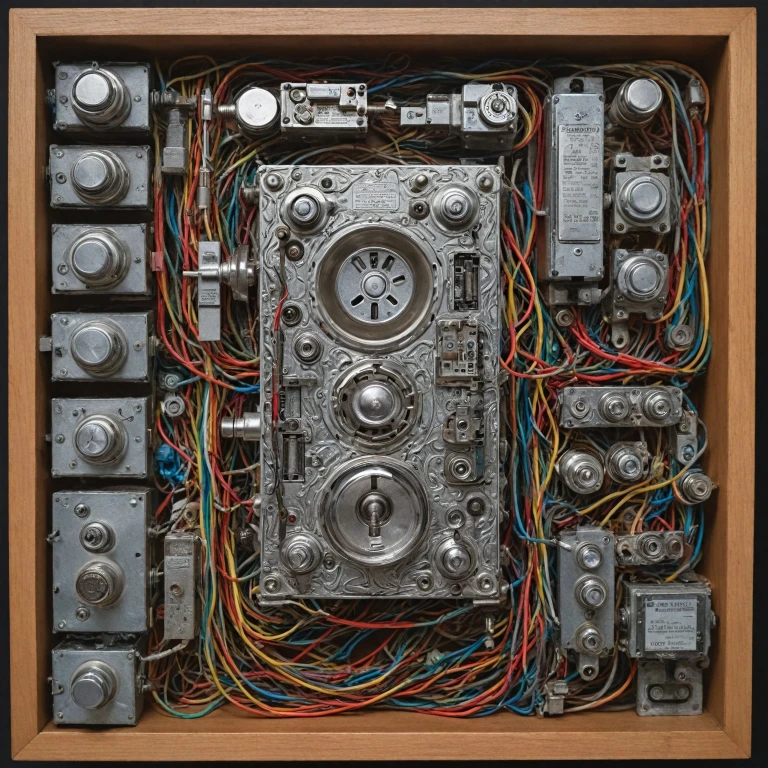
- Wiring and Wires: The core element enabling connectivity in wired setups. Wires link the doorbell button to the transformer and the chime, sometimes forming complex patterns identifiable in wiring diagrams.
- Transformer: A vital component that regulates the voltage supplied to the doorbell system. A connected transformer ensures adequate power distribution from your electrical system to the doorbell and chimes.
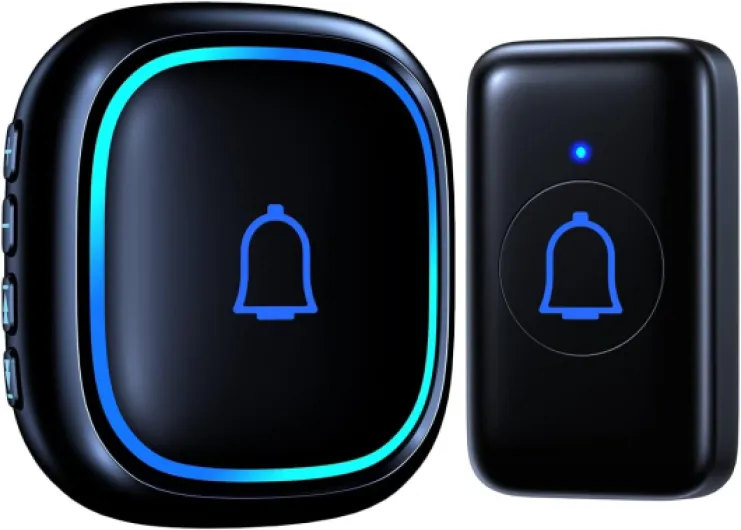
- Doorbell Chimes: These are the audio indicators inside the home that signal when someone has pressed the doorbell button. Often, chime wiring is referenced in wiring diagrams, detailing how it interconnects with other components.
- Doorbell Chime and Battery: In some modern systems, traditional chimes might be replaced or supplemented by wireless chimes, while battery-powered systems negate the need for extensive wiring.
- Additional Features: Many smart doorbell systems now include features like motion sensors, two-way audio, and even integration with smart home protocols, as part of the shift towards more connected, intuitive home systems.
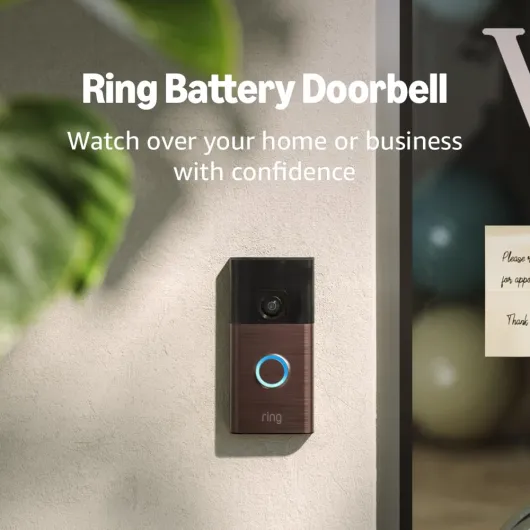
- + Head-to-Toe Video for comprehensive coverage
- + Live View feature for real-time monitoring
- + Two-Way Talk for easy communication
- + Motion Detection & Alerts for enhanced security
- + Stylish Venetian Bronze finish

Reading and interpreting wiring diagrams
{"Decoding Wiring Diagrams for Smart Doorbells
Understanding how to decode wiring diagrams is essential when setting up a smart doorbell system. This process may seem daunting, but breaking it down step-by-step can greatly simplify the installation.
1. Identify Key ComponentsFirst, locate key components on the diagram: the doorbell button, transformer, chime, and power source. These elements are interlinked and serve specific roles within the wiring system. Identifying these on a diagram is critical to ensure each component is connected correctly.
2. Recognize Symbols and LinesEach line and symbol on a wiring diagram represents a different wire or connection point. Solid lines usually denote wires carrying power to components like doorbells and chimes. Ensure these wires are correctly paired to their corresponding terminals—often indicated as "front" or "trans" on a chime unit or "power" on a transformer.
3. Interpreting Voltage InformationPay attention to voltage specifications on the wiring diagram. Most traditional doorbell systems use low-voltage wiring requiring a transformer to step down the power from your home’s electrical system. Ensure your smart doorbell’s voltage needs match what’s supplied from the transformer.
4. Mapping Power FlowFollow the flow of electricity from the power source—the transformer—to the doorbell button, then to the chime, and finally to the video or Nest doorbell components. This flow is vital in understanding how each part receives power and functions within the system.
5. Consider Wireless IntegrationsWhile exploring wiring diagrams, be aware of potential wireless integrations. Even in wired systems, some features might connect via wireless technology. Exploring the differences in smart doorbell technologies can help determine how to blend wired and wireless components efficiently.
Mastering these skills will greatly enhance your ability to troubleshoot common issues and ensure safe and efficient installation, especially when DIY installation is considered. For more detailed adjustments, you can also refer to guides like the step-by-step guide to resetting your Ring doorbell to fine-tune your doorbell system understanding.
These basic principles serve to simplify the complex task of smart doorbell installation, ensuring all components from the transformer to the doorbell chime are correctly wired and functional.
Common wiring challenges and solutions
Tackling Wiring Challenges in Smart Doorbells
Navigating the complexities of a smart doorbell wiring system can be daunting, especially when faced with common wiring challenges. Understanding how to effectively solve these issues is crucial to ensure your video doorbell operates smoothly.- Voltage Concerns: One of the most frequent challenges is ensuring the doorbell system has the appropriate voltage. Smart doorbells, like the Nest doorbell, often require a specific voltage level for optimal performance. When connecting your system, it's vital to ensure the connected transformer supplies the correct power to the doorbell wires. Using a multimeter to verify the voltage at each terminal can help prevent potential malfunctions.
- Compatibility with Existing Chimes: Homeowners often want to integrate new video doorbells with existing doorbell chimes. However, compatibility can be an issue, especially when older chime systems are used. Check the wiring diagram accompanying your smart doorbell to see if additional components, like a chime connector, are necessary to bridge any compatibility gaps.
- Wires Not Connected Properly: Loose or improperly connected wiring can lead to inconsistent doorbell performance. Ensuring each doorbell wire is securely connected to the corresponding terminal is crucial. Follow the wiring diagrams closely during the installation process, carefully securing each wire to avoid unexpected disconnections.
- Doorbell Button Malfunctions: If pressing the doorbell button does not trigger the chime or the video function, check the doorbell button wiring. In some cases, the issue may be linked to a faulty button or doorbell battery. Replacing these components, after verifying they are the cause, often resolves the problem.
- Transformer Power Issues: When the power from the doorbell transformer is insufficient, the entire system can underperform. This may pose challenges in delivering consistent performance for doorbells connected to multiple chimes or with high-power demands. Evaluating the need for a replacement transformer might be necessary for ensuring a stable power supply.
Safety considerations for DIY installation
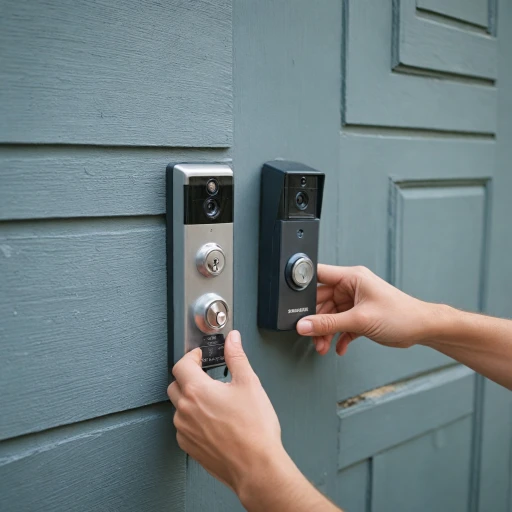
When venturing into the world of smart doorbell installations, safety should be a top priority. With the advent of modern technology, devices like video doorbells and nest doorbells have become integral to enhancing security, yet they present unique challenges, especially when dealing with doorbell wiring and voltage.
Ensuring Safe Wiring Practices
One of the primary safety considerations is working with the appropriate voltage. Doorbells commonly operate at low voltages, typically between 12V to 24V, however, when handling the connected transformer or rewiring tasks, always turn off the power to avoid any electric shock risks. Safety gloves and other protective gear are advisable when you’re dealing with these wires.
Correctly Interpreting Diagrams
Understanding how to read wiring diagrams is imperative for proper installation. These diagrams illustrate how each component, such as the doorbell button, the chime, and the transformer, are connected and aid in preventing miswiring, which can lead to malfunction or potential hazards. Following the correct paths as outlined in these diagrams ensures that your system functions optimally without unnecessary safety risks.
Dealing With Power Sources
With devices like the ring doorbell or nest doorbell, understanding battery versus wired power sources is crucial. A wired doorbell system connects power through your home's existing wiring and relies on a transformer. Ensuring that the wire gauge supports the required power output is vital; any discrepancy can lead to overheating. Conversely, video doorbells may utilize a doorbell battery, reducing wiring complexities but needing regular checks to ensure sufficient power.
Considering the Chime Wiring
In installations involving a doorbell chime, properly securing each terminal is an aspect not to overlook. Most models include multiple chimes and may involve complex chime wiring configurations. Follow the wiring diagram diligently to avoid short circuits or disconnected chimes that can result from incorrect connections.
Staying Informed and Updated
To prevent mishaps during and after installation, adhere to manufacturers' guidelines and remain updated on any changes in safety standards. Modern doorbell systems and technologies evolve rapidly, requiring continuous learning and adaptation to new devices and methods being introduced. One way to ensure safety is to keep an eye on resources that explore smart doorbell technologies and emerging trends.

