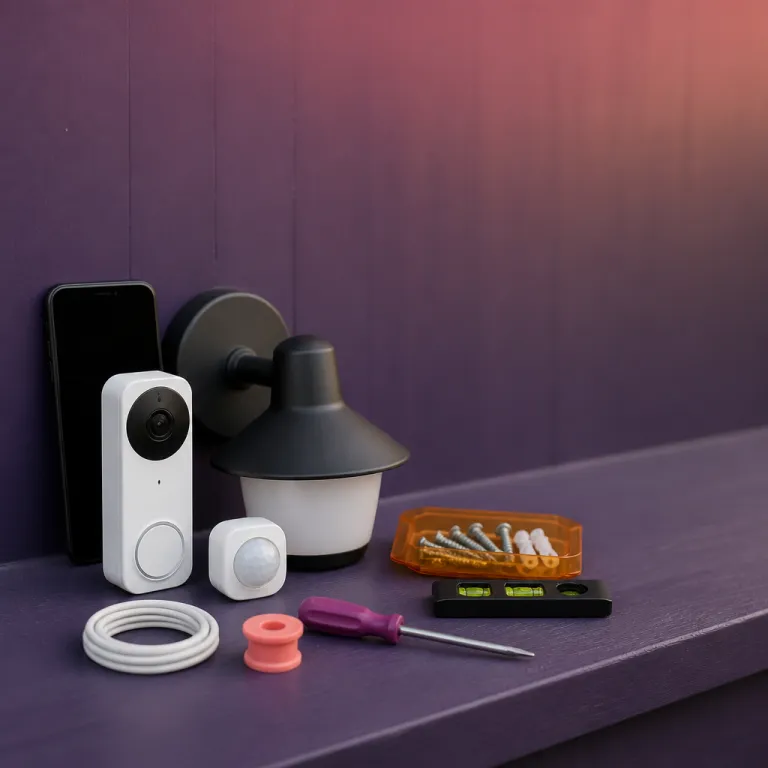
Smart porch lighting for clearer video doorbell footage
Why your video doorbell needs smarter porch lights, not brighter ones
Most homeowners upgrade a video doorbell first and only think about lighting when the night footage looks grainy. When you pair a doorbell with smart porch lights and motion-aware outdoor lighting, the camera finally sees faces instead of silhouettes and your security system starts to feel like a single coordinated device rather than scattered gadgets. The right balance of smart lighting, motion sensors, and camera settings will decide whether you can actually identify a visitor at 23:00 or just watch a glowing blur walk away.
The core problem is exposure time and how camera sensors react when a powerful outdoor light suddenly turns on. In testing from reviewers like Wirecutter and RTINGS, many popular doorbell cameras such as the Google Nest Doorbell and Ring Video Doorbell 4 need roughly one to two seconds to adjust exposure when a motion-activated floodlight or porch light snaps from darkness to full brightness, and during that window the image often washes out completely. Lab-style measurements of these cameras typically show dynamic range in the 70 to 80 dB range, which is generous for a small sensor but still easy to overwhelm when a 1500-lumen fixture jumps from zero to full output in under 200 milliseconds.
If your lighting fixtures throw 1500 lumens of cold white light straight at the lens, the sensor leaves night vision mode, overcorrects, and your supposedly upgraded security footage becomes useless at the exact moment motion is detected. Think of the front door as a small stage where you control every light, device, and angle. Your goal is not to blast the scene but to shine light evenly so the video doorbell can work within its limited dynamic range and still show detail in both faces and background.
For a typical 4 to 6 square metre porch, that usually means aiming for 100 to 200 lumens per square metre, choosing warm smart LED bulbs, tuning brightness levels carefully, and deciding where each lighting fixture sits in the installation area long before you start to set any automation in the app. A simple way to test this is to set your smart porch lights to a fixed level, record a clip while you walk toward the door, and check whether your face stays readable from the first frame to the last.
The blowout problem: when motion activated floodlights ruin your footage
Harsh outdoor lighting usually starts with a well-meaning upgrade to big floodlights and ends with a camera that cannot see anything when motion triggers them. A typical setup uses two powerful LED bulbs mounted above the door that turn lights on instantly when a motion sensor detects movement in the driveway, which sounds ideal for security until you review the recordings and see only white smears where faces should be. The brighter those porch lights and outdoor fixtures are, the more violently they push the camera out of infrared night mode and into a blown-out daylight profile.
Cold white bulbs around 6500 K are the worst offenders because they hit the sensor with a sharp spike of blue-heavy light. When that kind of smart floodlight sits close to the lens, the camera’s automatic exposure and gain control work overtime and the first seconds of every clip are unrecoverable, even if the rest of the scene looks fine later. Wirecutter and RTINGS reviewers often note that doorbells like the Nest and Ring models take roughly 1.2 to 1.8 seconds to recover usable detail after a sudden lighting change, which is long enough for a fast-moving visitor to pass through the frame.
If your doorbell and smart porch lights motion setup relies on instant full-power beams, the time will always work against you because the crucial first second of a clip is usually when a stranger’s face is closest to the camera. There is also a practical comfort angle that matters for everyday use, not just security. Visitors do not enjoy being hit with stadium-level outdoor lighting when a motion sensor flips on, and neighbours notice when your lighting fixtures strobe on and off all night.
A calmer pattern where smart lighting ramps up gently, uses moderate brightness levels, and lets night lights handle background glow will still deter unwanted visitors while keeping your video doorbell footage readable and your street less hostile. For readers testing broader perimeter coverage, pairing a doorbell with a wireless outdoor camera that supports human detection and colour night vision can help you compare how different light levels affect image quality across the yard.
For example, a 2K battery camera with auto tracking and Alexa or Google Assistant control, like the EufyCam 3 or Arlo Pro 4, shows how these devices behave under changing light without needing a subscription for basic recording. Using that kind of reference alongside your own porch tests makes it easier to judge whether your current smart LED bulb and motion sensors are helping or hurting the overall system.
Building a warm light base layer that cameras actually like
The most reliable fix for blown-out footage is boring on purpose, starting with a low-level warm light that stays on for long stretches. A single 2700 to 3000 K smart LED bulb in a shielded porch fixture can shine light gently across the entryway, giving the video doorbell a stable baseline exposure so sudden motion-activated spikes do not shock the sensor. When that base layer comes from smart lighting rather than a dumb bulb, you can schedule it to dim late at night, tweak brightness levels seasonally, and still keep the front step visible without wasting energy.
Think of this as your dusk-to-dawn layer that rarely changes, while motion sensors and brighter outdoor lighting only add temporary accents. Many smart lighting systems let you set a schedule in the app where the porch lights sit at 20 percent brightness from sunset, then rise to 40 percent when the doorbell detects motion, and finally fade back down after a short time without activity. Because the light level never jumps from zero to full power, the camera’s exposure control has less work to do and your security recordings show consistent detail from the first frame.
Placement of lighting fixtures matters as much as colour temperature and power. Mount the main porch light slightly to the side of the camera so the beam does not point directly into the lens, and use opaque or frosted glass fixtures to diffuse the light instead of creating hard glare. If you need extra coverage for steps or a path, add a second smart fixture or a low-wattage LED bulb in a separate device that points downwards, then let motion sensors in those devices handle safety without dominating the entire scene.
Once you have a stable base layer, you can start tying it into wider automations where the doorbell event also triggers other cameras to record, and a detailed guide on doorbell-triggered camera recording explains how to make your other devices start rolling the moment someone presses the button or triggers motion. That kind of coordination keeps your security system focused on capturing useful angles while your porch lights quietly support the cameras instead of sabotaging them.
To sanity-check this base layer, run a quick test routine: set the porch light to its planned night-time level, walk toward the door from several angles, and review the clips for three things—whether your face is visible at all distances, whether shadows hide important details like packages, and whether the camera ever drops back into harsh infrared mode.
Smart routines: motion triggered fades instead of on off shocks
After the base layer is in place, the real gains come from how you program the smart devices to react to motion. Modern ecosystems let you pair a doorbell, smart porch lights, and a motion routine where the video doorbell or a dedicated motion sensor acts as the trigger and several lighting fixtures respond with a gradual fade rather than a jarring snap to full power. In practice that means the app tells each smart LED bulb to ramp from 20 percent to 60 percent over three to five seconds, hold for 30 to 60 seconds, then glide back down to the baseline level.
This slow change gives the camera sensor time to adapt its exposure without losing detail, and it also feels more natural for visitors walking up the path. When a motion-activated routine is tuned well, the system detects motion early at the edge of the installation area, starts to turn lights up before the person reaches the door, and keeps the scene bright enough for both human eyes and the camera without ever hitting a harsh peak. You can run separate schedules so that late-night routines use lower brightness levels while early evening routines use more light, all controlled from the same app or voice assistant.
Power users often add a smart plug to bring older non-smart fixtures into the same automation, letting a classic lantern or string of night lights join the motion-triggered scene. The key is to test how each device behaves when the time will vary between triggers, because some bulbs remember their last state while others always turn on at full brightness when power returns. Once you understand how each device will work, you can set more precise rules so that only the right lights turn on, the right ones stay dim, and the camera always sees a predictable pattern.
If you already run complex doorbell and smart lock combinations, a detailed analysis of when integration adds friction instead of removing it can help you avoid over-automating the entryway and keep the focus on clear video and reliable lighting rather than flashy but fragile routines. The goal is a front door where every device, from the ring-style chime to the smallest smart bulb fixture, quietly supports security instead of demanding constant troubleshooting.
As a final tuning step, create a short checklist in your notes app: confirm that motion-triggered porch light settings for video doorbells ramp up instead of snapping on, verify that late-night scenes use lower brightness, and retest clips after any firmware update or app change that might alter how routines behave.
Aiming, glare audits, and keeping your neighbors on your side
Even the best smart lighting plan fails if the fixtures are aimed badly or create glare for the camera and the street. A simple rule is that no outdoor light should point directly at the video doorbell lens, because any beam that hits the glass will cause flare, reduce contrast, and make motion detection less reliable. Instead, mount floodlights higher and angle them down across the driveway or yard, while keeping porch lights at eye level or slightly above so they shine light across faces rather than into the camera.
Once the hardware is in place, walk the property at night and perform a neighbour glare audit from several viewpoints. Stand on the sidewalk, in the next yard, and across the street to see whether your outdoor lighting fixtures spill harsh light into windows or create sharp shadows that might bother others, then adjust brightness levels or add shields where needed. Smart lighting makes this process easier because you can use the app to dim individual devices, change colour temperature, or temporarily turn lights off while you test different angles and motion sensor ranges.
Light pollution and constant motion-activated cycling also affect how long your bulbs and sensors last. If motion sensors trigger every time a car passes or a tree moves, the fixtures will turn lights on and off dozens of times per night, shortening the lifespan of each LED bulb and making your security system feel jittery instead of calm. Tightening the detection zones so the system only detects motion close to the door, and using longer hold times so lights stay on for a reasonable period, will reduce wear on every device and keep the overall doorbell, smart porch lights, and motion setup more stable over the long term.
If you document this glare audit with a few still images or short clips, add descriptive captions such as “Overexposed porch before adjusting motion-triggered floodlight angle” and “Balanced warm lighting after dimming and re-aiming fixtures” so you can quickly compare results and repeat the process after any hardware change.
FAQ
How bright should my porch lights be for a video doorbell
For most entryways, a single 5 to 7 watt warm smart LED bulb set between 20 and 60 percent brightness is enough for clear video. That level of light keeps faces visible without pushing the camera out of its comfort zone or causing blown highlights. If the area is larger, add a second fixture at low power rather than one extremely bright light pointed at the lens.
Is it better to use the doorbell’s built in light or separate fixtures
Relying only on the small ring-style light around a doorbell button rarely provides enough coverage for the whole entryway. Separate porch lights and outdoor fixtures let you control direction, brightness, and colour temperature independently from the camera, which usually leads to better image quality. The built-in light then acts as a helpful accent rather than the main source.
Do I need a dedicated motion sensor if my doorbell already detects motion
A doorbell that detects motion can trigger basic routines, but a dedicated motion sensor placed farther from the door often gives better results. It can start the motion-activated lighting sequence earlier, so the path is lit before a visitor reaches the steps. This also reduces false triggers directly in front of the lens, which can cause exposure swings in the recorded clips.
Will smart lighting still work if my Wi Fi or app goes down
Most smart bulbs and lighting fixtures remember their last state and will turn lights on when power is applied, even without an app connection. However, advanced routines that link the video doorbell, motion sensors, and multiple devices usually require the hub or cloud service to be online. For critical security areas, combine smart lighting with simple manual switches so you always have a fallback.
How can I test whether my setup is overexposing the camera
The easiest method is to walk toward the door at night while recording a test clip from the doorbell app. Watch whether the image blows out when the porch lights or outdoor lighting turn on, and note how long the camera takes to recover detail in your face. If the first second is unusable, lower brightness levels, warm the colour temperature, or lengthen the fade-in time until the footage stays consistent.